MQTT is the messaging protocol that quietly powers a huge part of the connected world — from smart-home sensors to industrial machines to millions of IoT devices. It is lightweight, elegant, and once it clicks, surprisingly simple. This guide assumes you know nothing about it. By the end, you will not only understand how MQTT works down to its details — you will have run a real broker, sent and received live messages, written working Python code, and connected a physical sensor. In other words, you will be able to build a genuine MQTT project yourself.
What MQTT actually is
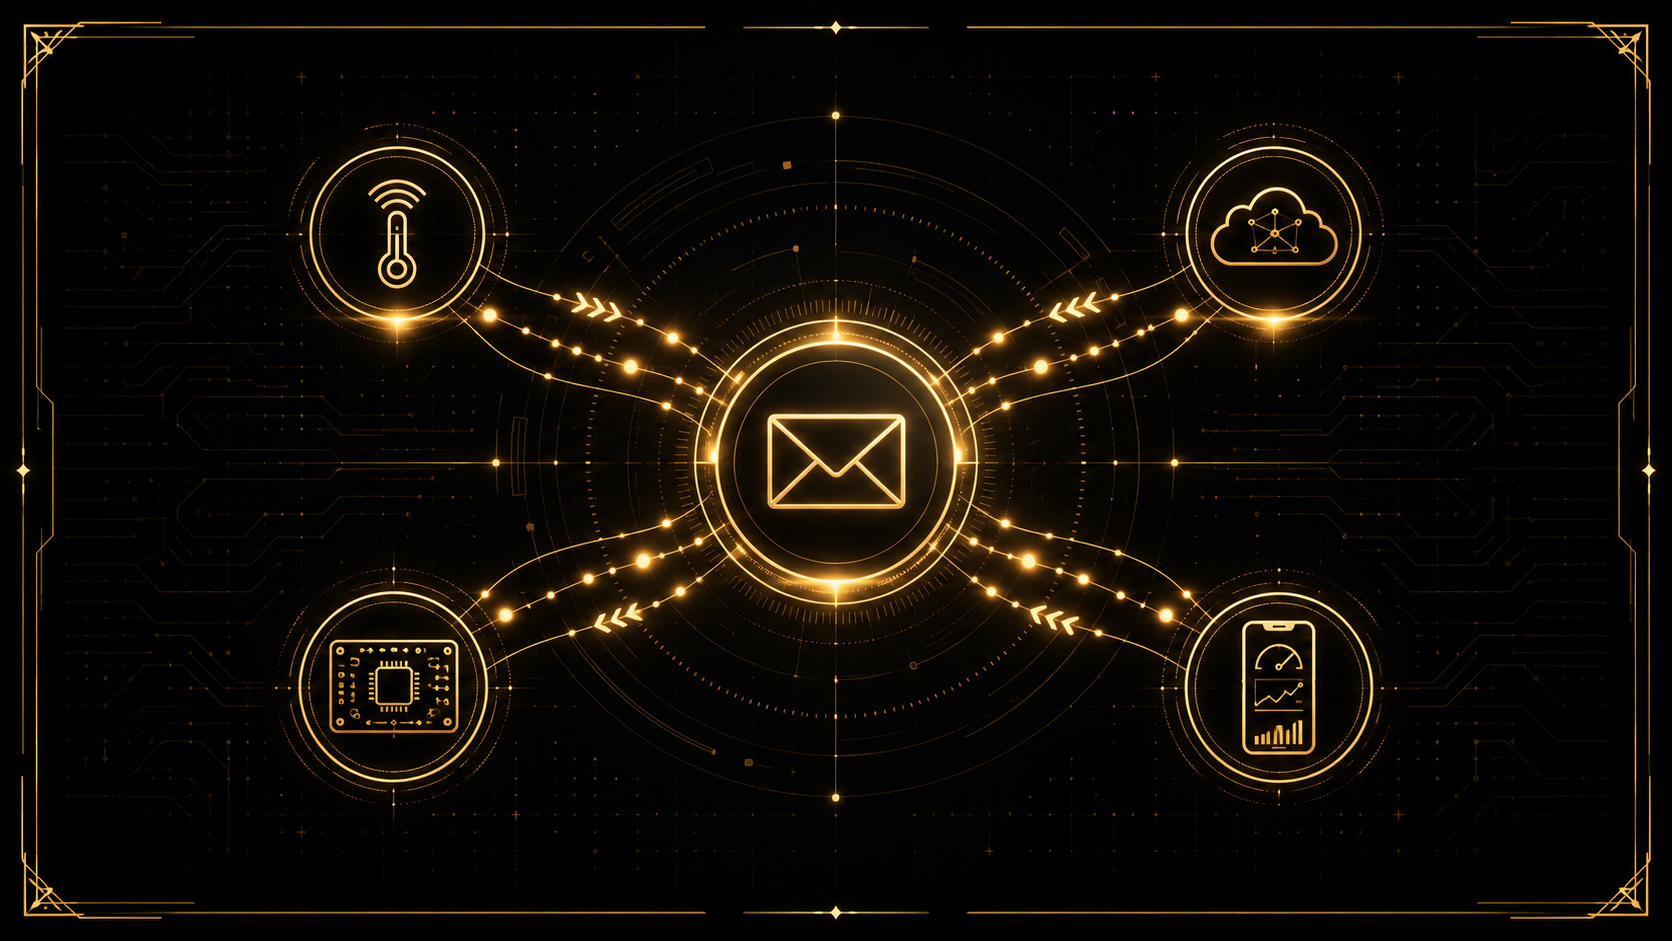
MQTT (Message Queuing Telemetry Transport) is a protocol for sending small messages between devices over a network. It was designed for situations where bandwidth is limited, connections are unreliable, and devices are small and low-powered — exactly the conditions of the Internet of Things. Instead of every device talking directly to every other device, MQTT introduces a central post office that everyone connects to. That single idea makes everything else simple.
The big idea: publish and subscribe
Most people first learn the web's model: a client asks a server for something and gets a reply (request/response). MQTT works differently. It uses publish/subscribe:
- A device that has information publishes it, labelled with a subject.
- A device that wants information subscribes to that subject.
- Neither one needs to know the other exists.
Think of it like a radio station. The station broadcasts on a frequency; anyone tuned to that frequency hears it. The broadcaster does not know or care who is listening. This decoupling is MQTT's superpower: you can add new devices that listen to existing data, or new sensors that publish new data, without changing anything that already runs.
The three roles: broker, publisher, subscriber
- The broker is the central post office. Every message passes through it. It receives everything publishers send and delivers it to the right subscribers. Popular brokers include Mosquitto, EMQX and HiveMQ.
- A publisher is any client that sends a message.
- A subscriber is any client that asks to receive messages on certain subjects.
Crucially, the same device is usually both: a smart thermostat publishes the temperature and subscribes to commands. "Publisher" and "subscriber" describe what a client is doing at a moment, not what it permanently is.
Topics: the address of every message
Every message in MQTT is labelled with a topic — a simple text string that works like a folder path. For example:
home/livingroom/temperature
home/kitchen/humidity
factory/line1/motor/current
The slashes create a hierarchy. A publisher sends a value to a topic; a subscriber asks the broker for all messages on a topic. Good topic design is one of the marks of a professional MQTT project: use a clear, consistent structure from general to specific (location, then device, then measurement), keep it lowercase, and never put a leading slash. A well-designed topic tree makes a system easy to understand and extend for years.
Wildcards: subscribing to many topics at once
You do not have to subscribe to every topic individually. MQTT provides two wildcards:
- + matches exactly one level.
home/+/temperaturereceives the temperature from every room. - # matches everything below a point.
home/#receives every message anywhere under "home".
Wildcards are only for subscribing, never for publishing — you always publish to one exact topic. This simple system lets one dashboard listen to an entire factory with a single subscription.
The payload: what you actually send
The content of a message is called the payload. MQTT does not care what is in it — it can be a number, a word, or a structured format like JSON. For a temperature you might send 22.5; for something richer you might send {"temp": 22.5, "unit": "C"}. Keeping payloads small and consistent is good practice, especially on constrained devices.
Quality of Service (QoS): how hard MQTT tries
Networks drop messages. MQTT lets you choose how much effort goes into delivery, per message, with three levels:
- QoS 0 — "at most once": fire and forget. Fastest and lightest, but a message may be lost. Perfect for frequent sensor readings where the next one comes soon anyway.
- QoS 1 — "at least once": the message is guaranteed to arrive, but might arrive twice. A good default for important data where a rare duplicate is harmless.
- QoS 2 — "exactly once": guaranteed to arrive exactly one time, using more handshaking. Use it when duplicates would cause real problems, such as a billing event or a critical command.
Higher QoS costs more bandwidth and time. Choosing the right level for each message is a mark of an engineer who understands the protocol rather than just using it.
Retained messages: the last known value
Normally, if you subscribe to a topic, you only hear messages sent after you subscribe. But sometimes a new subscriber needs the current state immediately — the latest temperature, or whether a machine is on. If a publisher marks a message as retained, the broker stores that one message and gives it instantly to any future subscriber. It is the difference between "tell me from now on" and "tell me the current value the moment I connect".
Last Will and Testament: knowing when a device dies
What happens if a device loses power or its connection drops silently? MQTT has an elegant answer: the Last Will and Testament (LWT). When a client connects, it can hand the broker a message to publish on its behalf if it disconnects unexpectedly — for example, publishing offline to a status topic. This lets the rest of the system detect a failed device automatically, without any polling. It is one of MQTT's most underappreciated features.
Keep-alive and sessions
To notice a silent disconnection, each client agrees a keep-alive interval with the broker and sends a tiny "ping" within it; if the broker hears nothing, it considers the client gone (and fires the LWT). Sessions control memory: with a persistent session the broker remembers a client's subscriptions and queues messages while it is briefly offline; with a clean session everything starts fresh each time. Choosing correctly here is what makes a device reconnect gracefully after a network blip.
Security: never skip this
By default a plain MQTT connection is unencrypted and unauthenticated — fine for learning, unacceptable for a real product. A professional deployment always adds:
- TLS encryption so no one can read or tamper with the traffic (MQTT over TLS typically uses port 8883).
- Authentication with usernames/passwords or, better, client certificates, so only trusted devices can connect.
- Access control (ACLs) so each device may only publish and subscribe to the topics it is allowed to.
Treating security as part of the design from the start — not an afterthought — is exactly what separates a hobby setup from a system a business can rely on.
Choosing a broker
The broker is the heart of the system. For learning and small projects, Mosquitto is free, light and everywhere. For larger or commercial systems, EMQX and HiveMQ scale to millions of connections and add clustering and management tools. Cloud providers also offer hosted MQTT. Start simple; the beauty of MQTT is that the code you write barely changes when you later move to a bigger broker.
Hands-on, part 1: run a broker and talk to it from the command line
Let us make it real. Install Mosquitto (it includes the broker and two command-line tools, mosquitto_pub and mosquitto_sub). Once installed, open two terminal windows.
In the first terminal, subscribe to a topic and wait:
mosquitto_sub -h localhost -t "home/livingroom/temperature"In the second terminal, publish a value to the same topic:
mosquitto_pub -h localhost -t "home/livingroom/temperature" -m "22.5"The number 22.5 appears instantly in the first terminal. You have just sent your first MQTT message. Try a wildcard subscription to see the power of topics:
mosquitto_sub -h localhost -t "home/#" -v(The -v flag also prints the topic, so you can see exactly what arrives where.) If you do not want to install a broker yet, replace localhost with the free public test broker test.mosquitto.org.
Hands-on, part 2: publish and subscribe with Python
Command-line tools are great for testing, but real projects need code. The standard Python library is paho-mqtt. Install it with pip install paho-mqtt. Here is a complete subscriber that prints every temperature it receives:
import paho.mqtt.client as mqtt

def on_connect(client, userdata, flags, reason_code, properties):
    print("Connected, result:", reason_code)
    client.subscribe("home/livingroom/temperature")

def on_message(client, userdata, msg):
    print(msg.topic, "->", msg.payload.decode())

client = mqtt.Client(mqtt.CallbackAPIVersion.VERSION2)
client.on_connect = on_connect
client.on_message = on_message

client.connect("localhost", 1883, keepalive=60)
client.loop_forever()
And here is a complete publisher that sends a new reading every five seconds:
import paho.mqtt.client as mqtt
import time

client = mqtt.Client(mqtt.CallbackAPIVersion.VERSION2)
client.connect("localhost", 1883, keepalive=60)
client.loop_start()

while True:
    temperature = 22.5
    client.publish("home/livingroom/temperature", str(temperature))
    print("published", temperature)
    time.sleep(5)
Run the subscriber, then run the publisher, and you will watch live data flow between two programs through the broker. This is, in miniature, exactly how large IoT systems work.
Hands-on, part 3: a real sensor with an ESP32
Now the exciting part — a physical device. An ESP32 microcontroller with Wi-Fi can publish real sensor data to the same broker. Using the popular Arduino PubSubClient library, the core looks like this:
#include <WiFi.h>
#include <PubSubClient.h>

WiFiClient espClient;
PubSubClient client(espClient);

void setup() {
  WiFi.begin("your-wifi-name", "your-wifi-password");
  client.setServer("192.168.1.10", 1883);   // your broker's IP
}

void loop() {
  if (!client.connected()) {
    client.connect("esp32-livingroom");      // a unique client id
  }
  client.loop();

  float temperature = readTemperature();     // your sensor code
  client.publish("home/livingroom/temperature",
                 String(temperature).c_str());
  delay(5000);
}
The moment this runs, the Python subscriber from part 2 — or a dashboard, or a database — starts receiving real temperatures from real hardware, with no changes at all on the receiving side. That is the decoupling of publish/subscribe working exactly as intended.
Putting it together: a real project architecture
You now have every piece needed for a genuine application. A typical MQTT project looks like this:
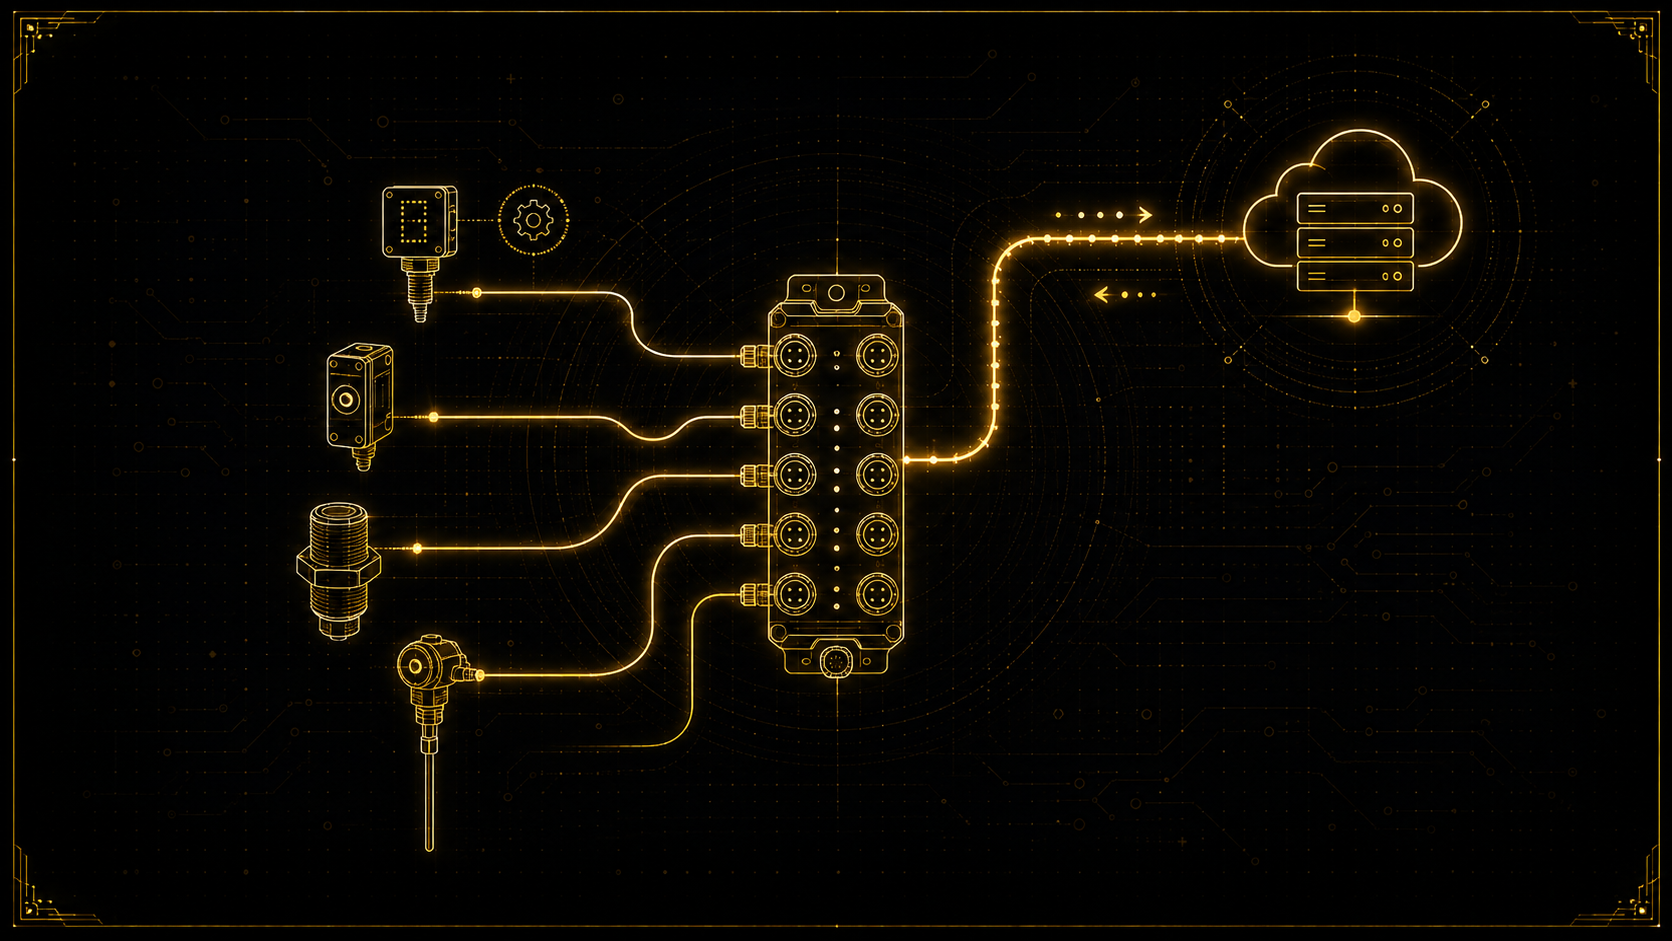
- Devices (ESP32s, industrial sensors) publish readings to well-named topics.
- A broker (Mosquitto or EMQX), secured with TLS and authentication, routes everything.
- A backend service subscribes to the data and writes it to a database (often a time-series database).
- A dashboard subscribes too, showing live values and charts.
- Commands flow the other way: the dashboard publishes to a command topic, and devices subscribe to it — the same protocol, in reverse.
Every concept in this guide — topics, QoS, retained messages, LWT, security — has a clear role in that architecture. Understanding how they fit together is the difference between wiring up a demo and engineering a system that runs reliably for years.
Best practices and common mistakes
- Design your topic tree deliberately before writing code; it is hard to change later.
- Match QoS to the data — do not use QoS 2 for everything "to be safe"; it wastes resources.
- Always give each client a unique ID; two clients with the same ID will keep disconnecting each other.
- Use retained messages for state, not for streams of frequent readings.
- Never ship without TLS and authentication.
- Use the Last Will so your system always knows which devices are alive.
Where to go from here
You now understand MQTT from its core idea to a working, secured project, and you have run it on the command line, in Python, and on real hardware. The natural next steps are adding TLS to your broker, structuring payloads as JSON, storing data in a database, and building a live dashboard on top. Each of these builds directly on the foundation you now have.
MQTT is deceptively simple to start and deep to master — and getting the architecture, QoS strategy and security right across a real fleet of devices is precisely the kind of work I do every day. If you are building an IoT or industrial system and want it engineered properly from the first message to the full platform, get in touch — I would be glad to help.